

As a trusted supplier of piston rod seals, I understand the critical importance of correct installation. Piston rod seals play a vital role in hydraulic and pneumatic systems, preventing fluid leakage and maintaining system efficiency. Incorrect installation can lead to premature seal failure, reduced equipment performance, and costly downtime. In this blog post, I'll share some essential steps and tips on how to install piston rod seals correctly.
Step 1: Preparation
Before you start the installation process, it's crucial to gather all the necessary tools and materials. You'll need a clean work area, the appropriate piston rod seal for your application, a seal installation tool, lubricant, and a clean cloth. Make sure the work area is free from dirt, debris, and any contaminants that could damage the seal.
Inspect the piston rod and the housing for any signs of damage, such as scratches, nicks, or corrosion. Any imperfections on the rod or housing can cause the seal to fail prematurely. If you notice any damage, it's essential to repair or replace the affected parts before proceeding with the installation.
Step 2: Lubrication
Proper lubrication is key to a successful seal installation. Apply a thin layer of compatible lubricant to the piston rod and the inside of the seal. The lubricant helps to reduce friction during installation, making it easier to insert the seal without damaging it. It also helps to prevent the seal from drying out and cracking over time.
When choosing a lubricant, make sure it's compatible with the seal material and the fluid used in the system. Using an incompatible lubricant can cause the seal to swell, shrink, or lose its sealing properties. Refer to the seal manufacturer's recommendations for the best lubricant to use.
Step 3: Installing the Seal
Now that you've prepared the work area and lubricated the rod and seal, it's time to install the seal. Start by carefully placing the seal over the end of the piston rod. Make sure the seal is centered and aligned properly. If the seal is not aligned correctly, it can cause uneven wear and leakage.
Use a seal installation tool to gently push the seal onto the rod. Apply even pressure around the circumference of the seal to ensure it's installed evenly. Avoid using excessive force, as this can damage the seal. If you encounter any resistance during installation, stop and check for any obstructions or misalignments.
Step 4: Checking the Installation
Once the seal is installed, it's important to check its position and alignment. Make sure the seal is fully seated in the housing and there are no gaps or wrinkles. Use a clean cloth to wipe away any excess lubricant from the rod and the seal.
Check the seal for any signs of damage or deformation. If you notice any cuts, tears, or other damage, replace the seal immediately. A damaged seal can cause fluid leakage and reduce the efficiency of the system.
Step 5: Final Checks
After installing the seal, perform a final check of the system to ensure everything is working properly. Start the system and check for any signs of leakage. Look for any fluid dripping or pooling around the seal or the housing. If you notice any leakage, stop the system immediately and check the installation again.
Check the system's pressure and performance to make sure it's operating within the specified range. If you notice any changes in pressure or performance, it could indicate a problem with the seal or the system.
Tips for Correct Installation
- Follow the Manufacturer's Instructions: Always refer to the seal manufacturer's installation instructions for specific guidelines and recommendations. Different types of seals may require different installation methods, so it's important to follow the instructions carefully.
- Use the Right Tools: Using the right tools for the job can make a big difference in the installation process. Invest in high-quality seal installation tools to ensure a proper and damage-free installation.
- Take Your Time: Rushing through the installation process can lead to mistakes and damage to the seal. Take your time and be careful when installing the seal to ensure a successful installation.
- Inspect the Seal Regularly: Regularly inspect the seal for any signs of wear, damage, or leakage. Replace the seal as soon as you notice any problems to prevent further damage to the system.
Conclusion
Installing piston rod seals correctly is essential for the proper functioning and longevity of hydraulic and pneumatic systems. By following the steps and tips outlined in this blog post, you can ensure a successful seal installation and avoid costly downtime and repairs.
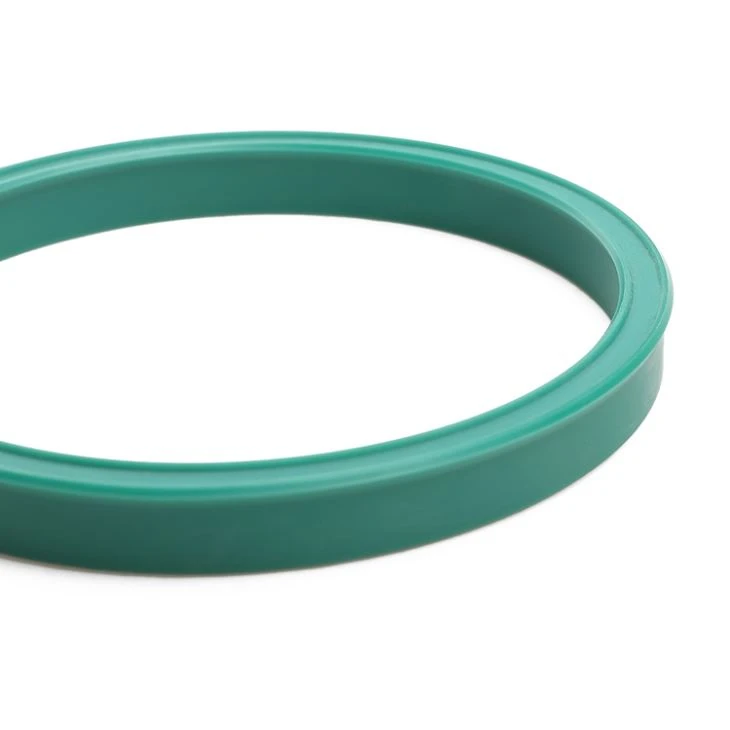
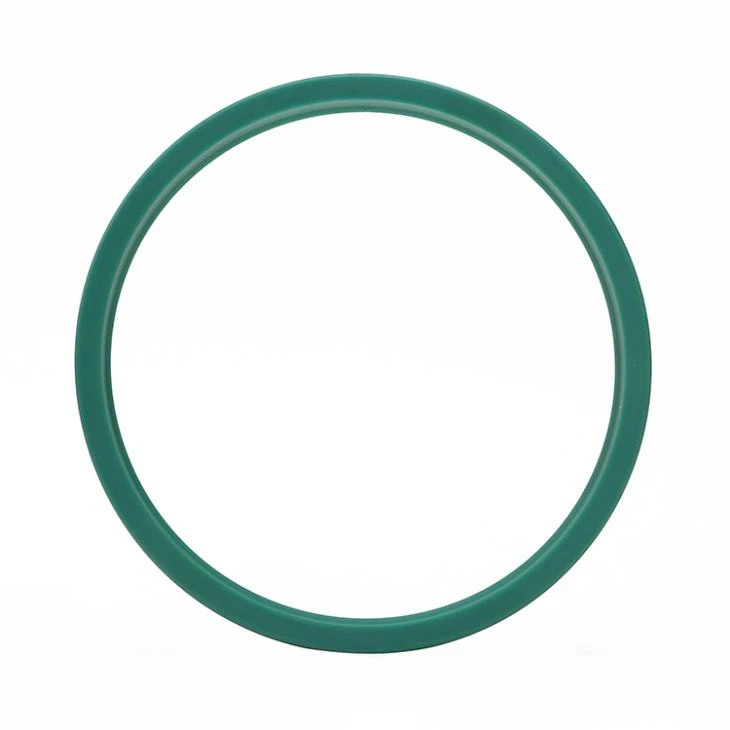
As a leading supplier of piston rod seals, we offer a wide range of high-quality seals to meet your specific needs. Our seals are made from the finest materials and are designed to provide reliable performance in even the most demanding applications. Whether you need TPU Oil Seals, Reciprocating Vee Packing Seals V Ring Sets, or Piston Rod U Seals, we have the right seal for you.
If you have any questions or need assistance with seal selection or installation, please don't hesitate to contact us. Our team of experts is always ready to help you find the best solution for your application. We look forward to working with you and providing you with the highest quality piston rod seals and excellent customer service.
References
- "Seal Installation Guide," Seal Engineering Handbook, 2nd Edition.
- "Hydraulic and Pneumatic Seals: Principles and Applications," by John F. Dobrowolski.